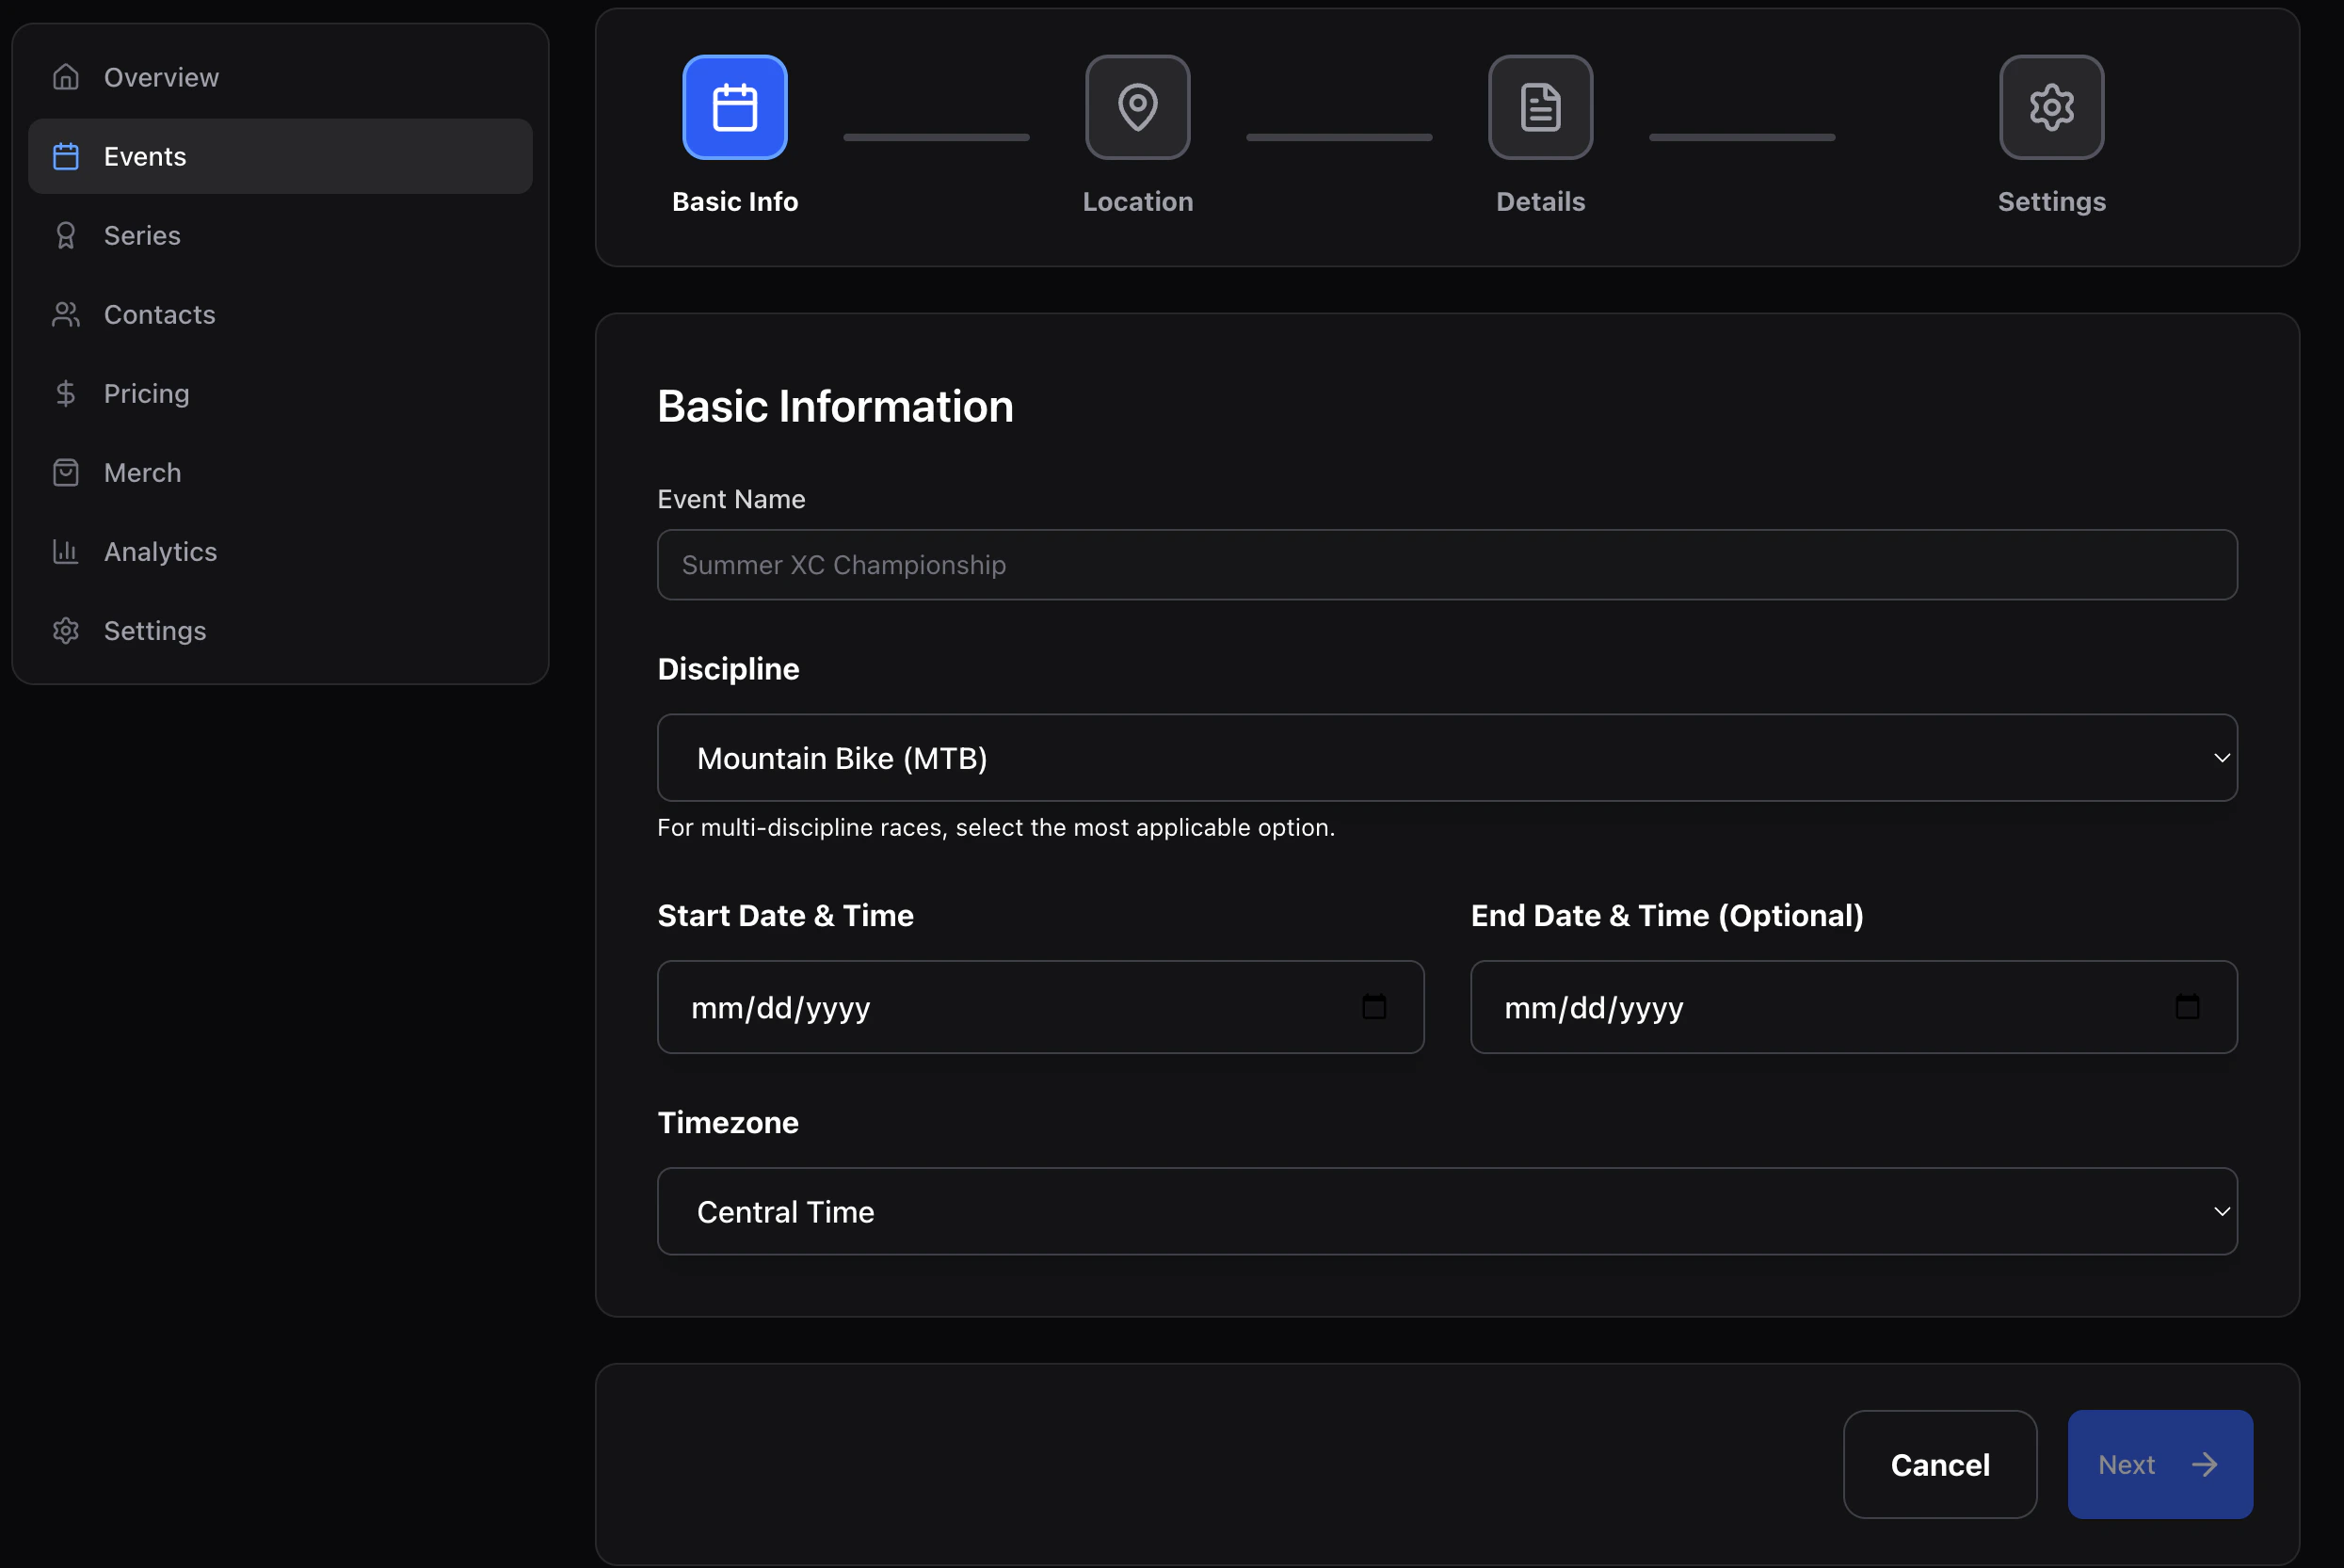
1. Basic info
| Field | Notes |
|---|---|
| Name | Event title shown to riders. |
| Discipline | mtb, road, cyclocross, gravel, bmx, track, enduro, dh, xc, other. Drives default categories and the bike icon. |
| Start / end | Local dates and times. |
| Timezone | Used for all rider-facing times. Defaults to your last-used zone. |
2. Location
Venue name + street address (line 1/2, city, state, postal code, country). This powers the address line and map embed on the public page.3. Details
- Description — short summary for the landing page hero.
- Website — optional outbound link.
- Mobile number — for race-day contact (not shown publicly unless you add it to the landing page).
- Notes — internal-only.
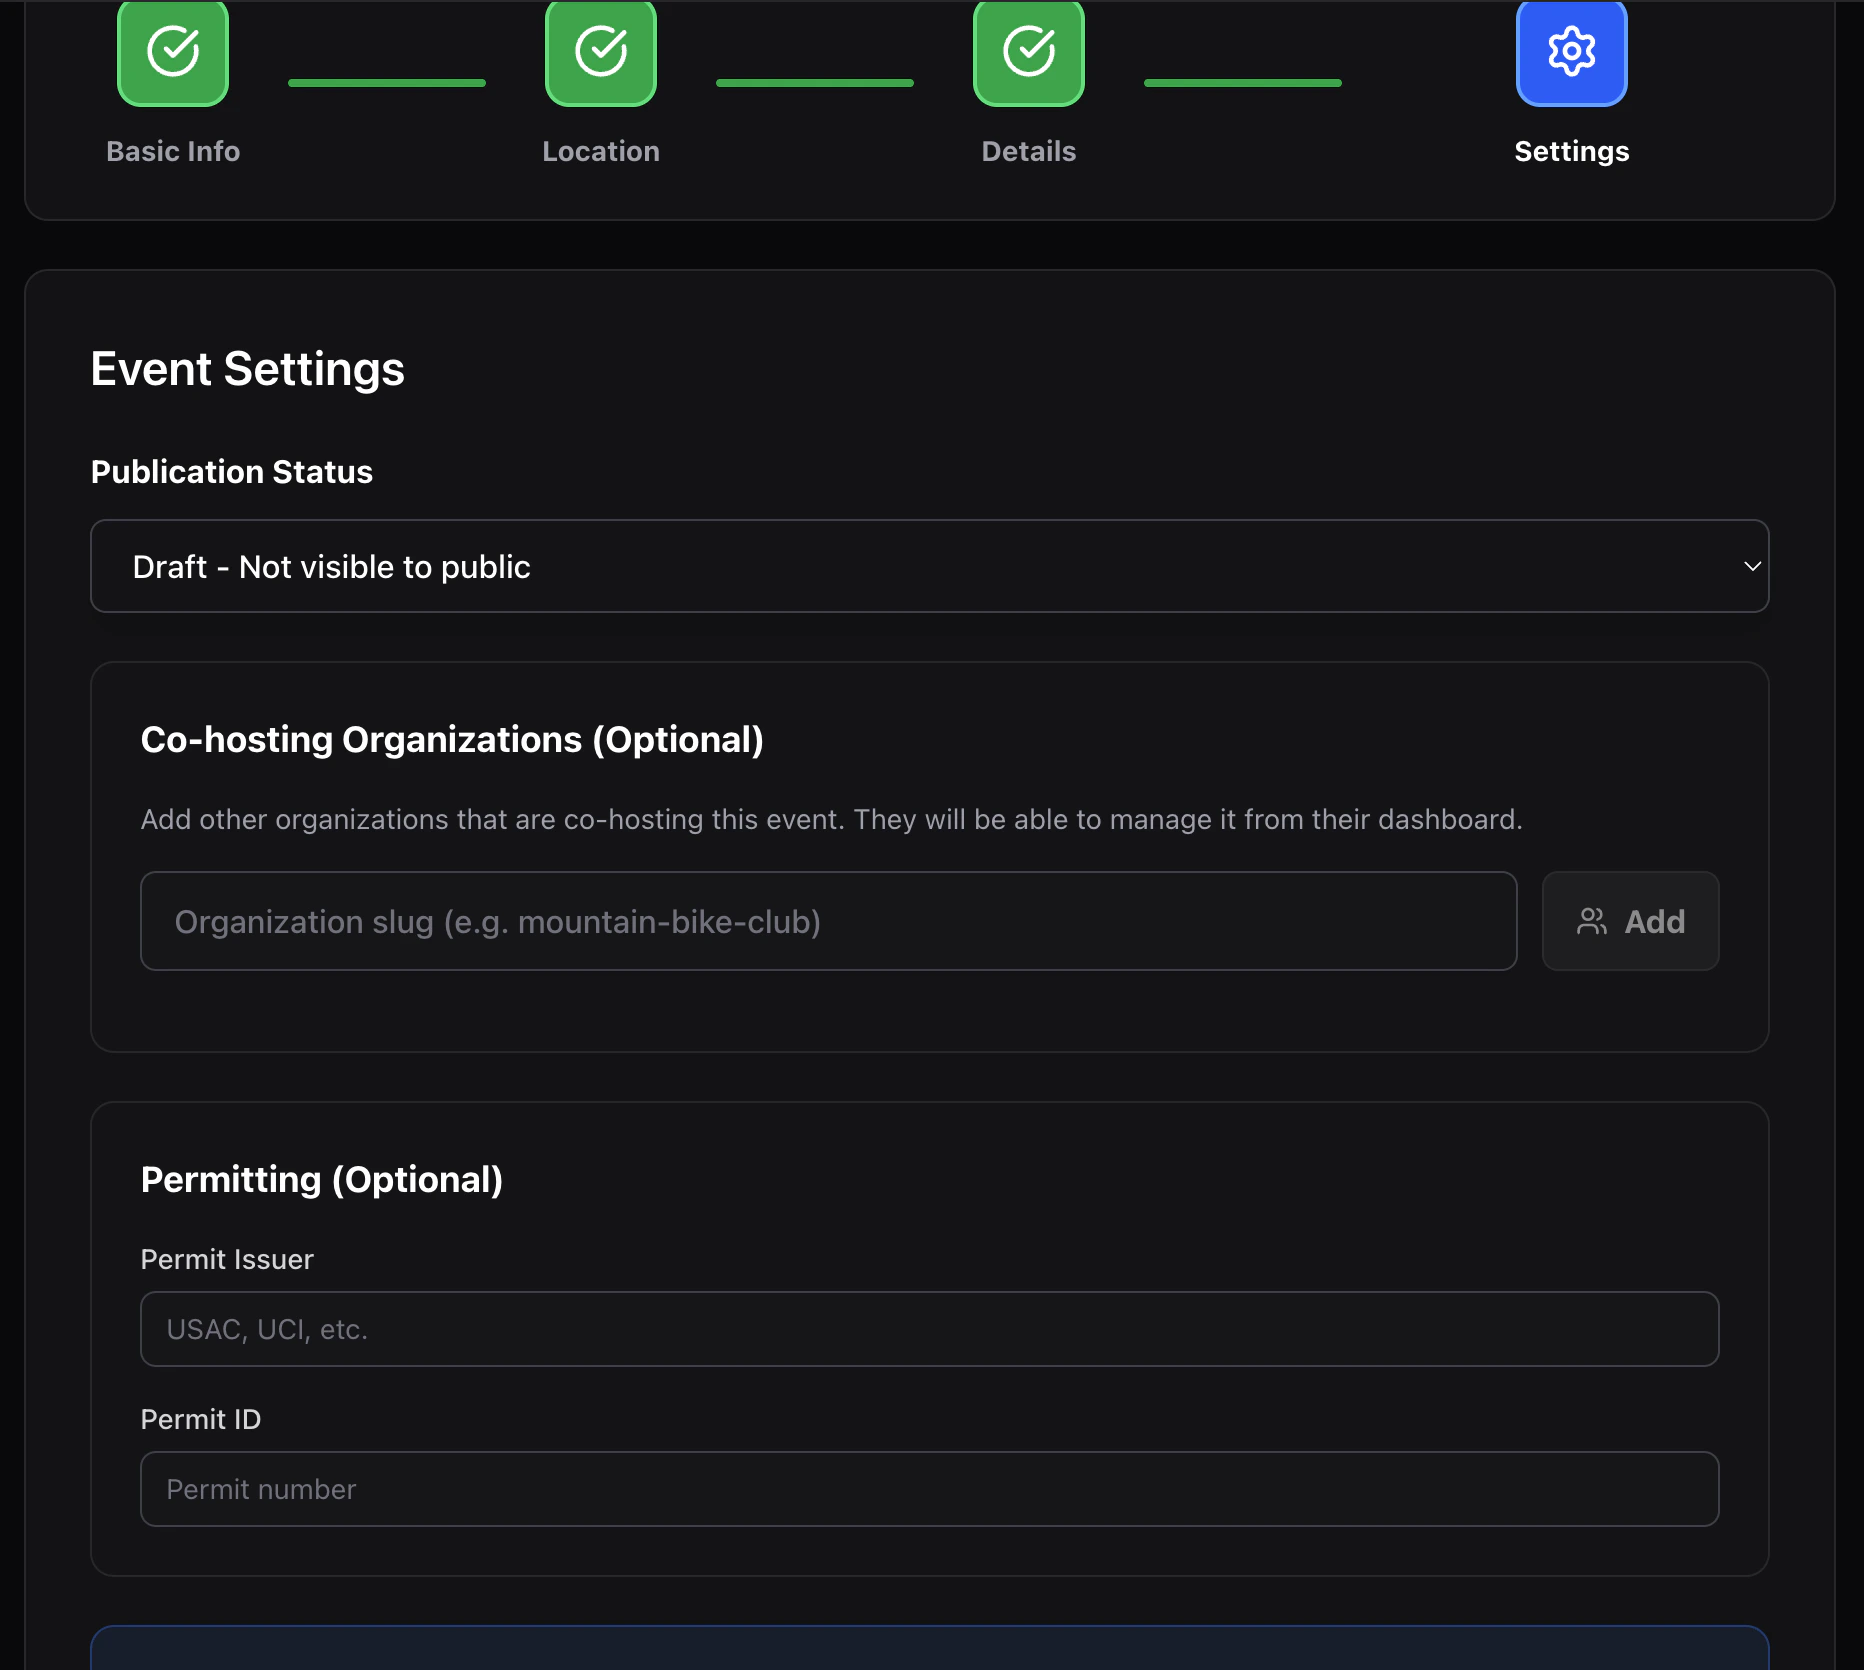
4. Settings
- Status —
draft(only org members see it) orpublished(live). - Permit issuer / ID — optional metadata for sanctioned races.
- Collaborating organizations — paste another org’s slug to grant them editor access to this event. Useful for joint promotions and shared series.