

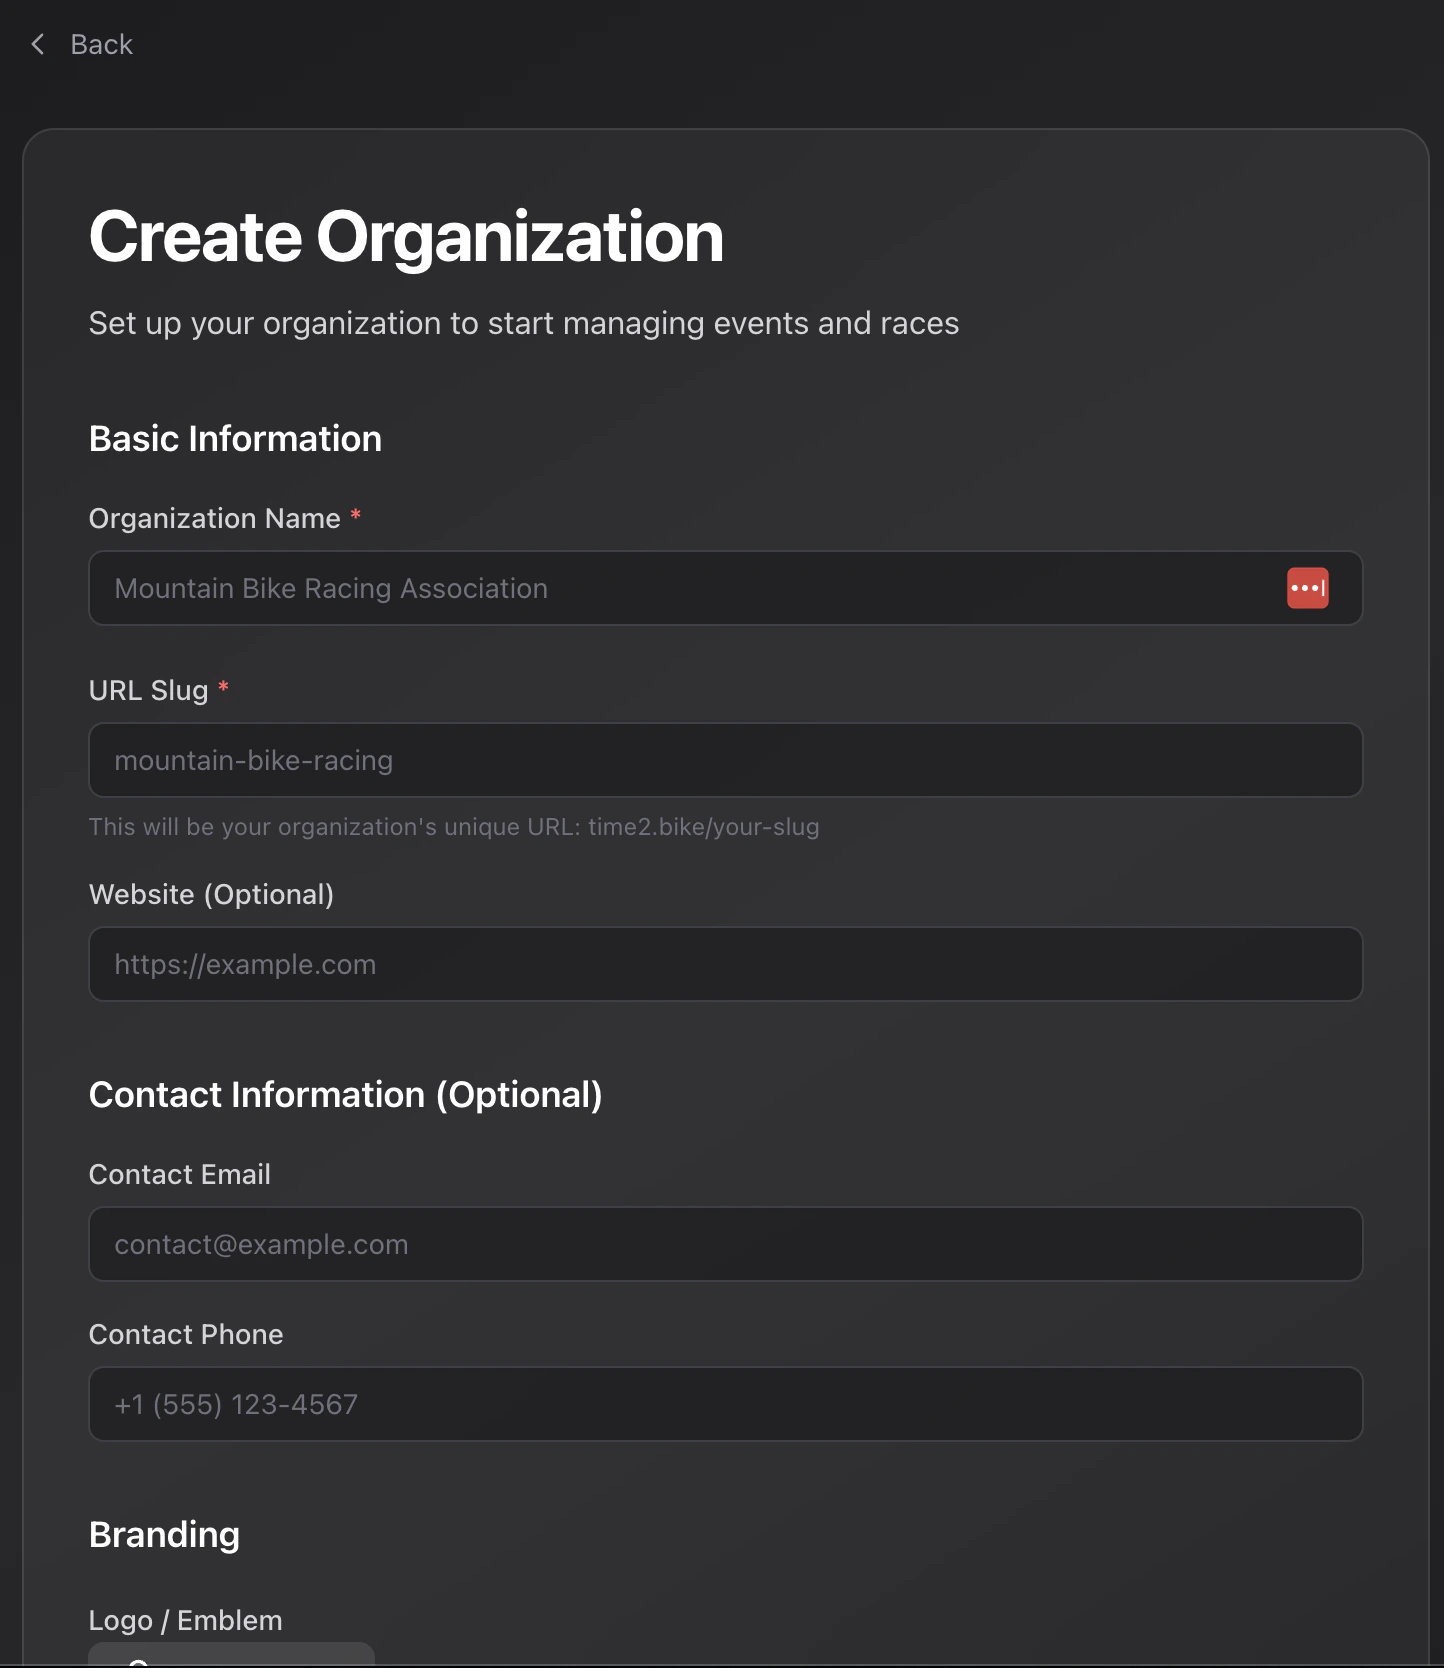
What you’ll need
Web addresses can use lowercase letters, numbers, and hyphens, and can’t start
or end with a hyphen. If the one you want is taken, Time2Bike tells you and
suggests something close.
What happens next
You land on your organization dashboard. It’s empty, which is correct — you haven’t done anything yet.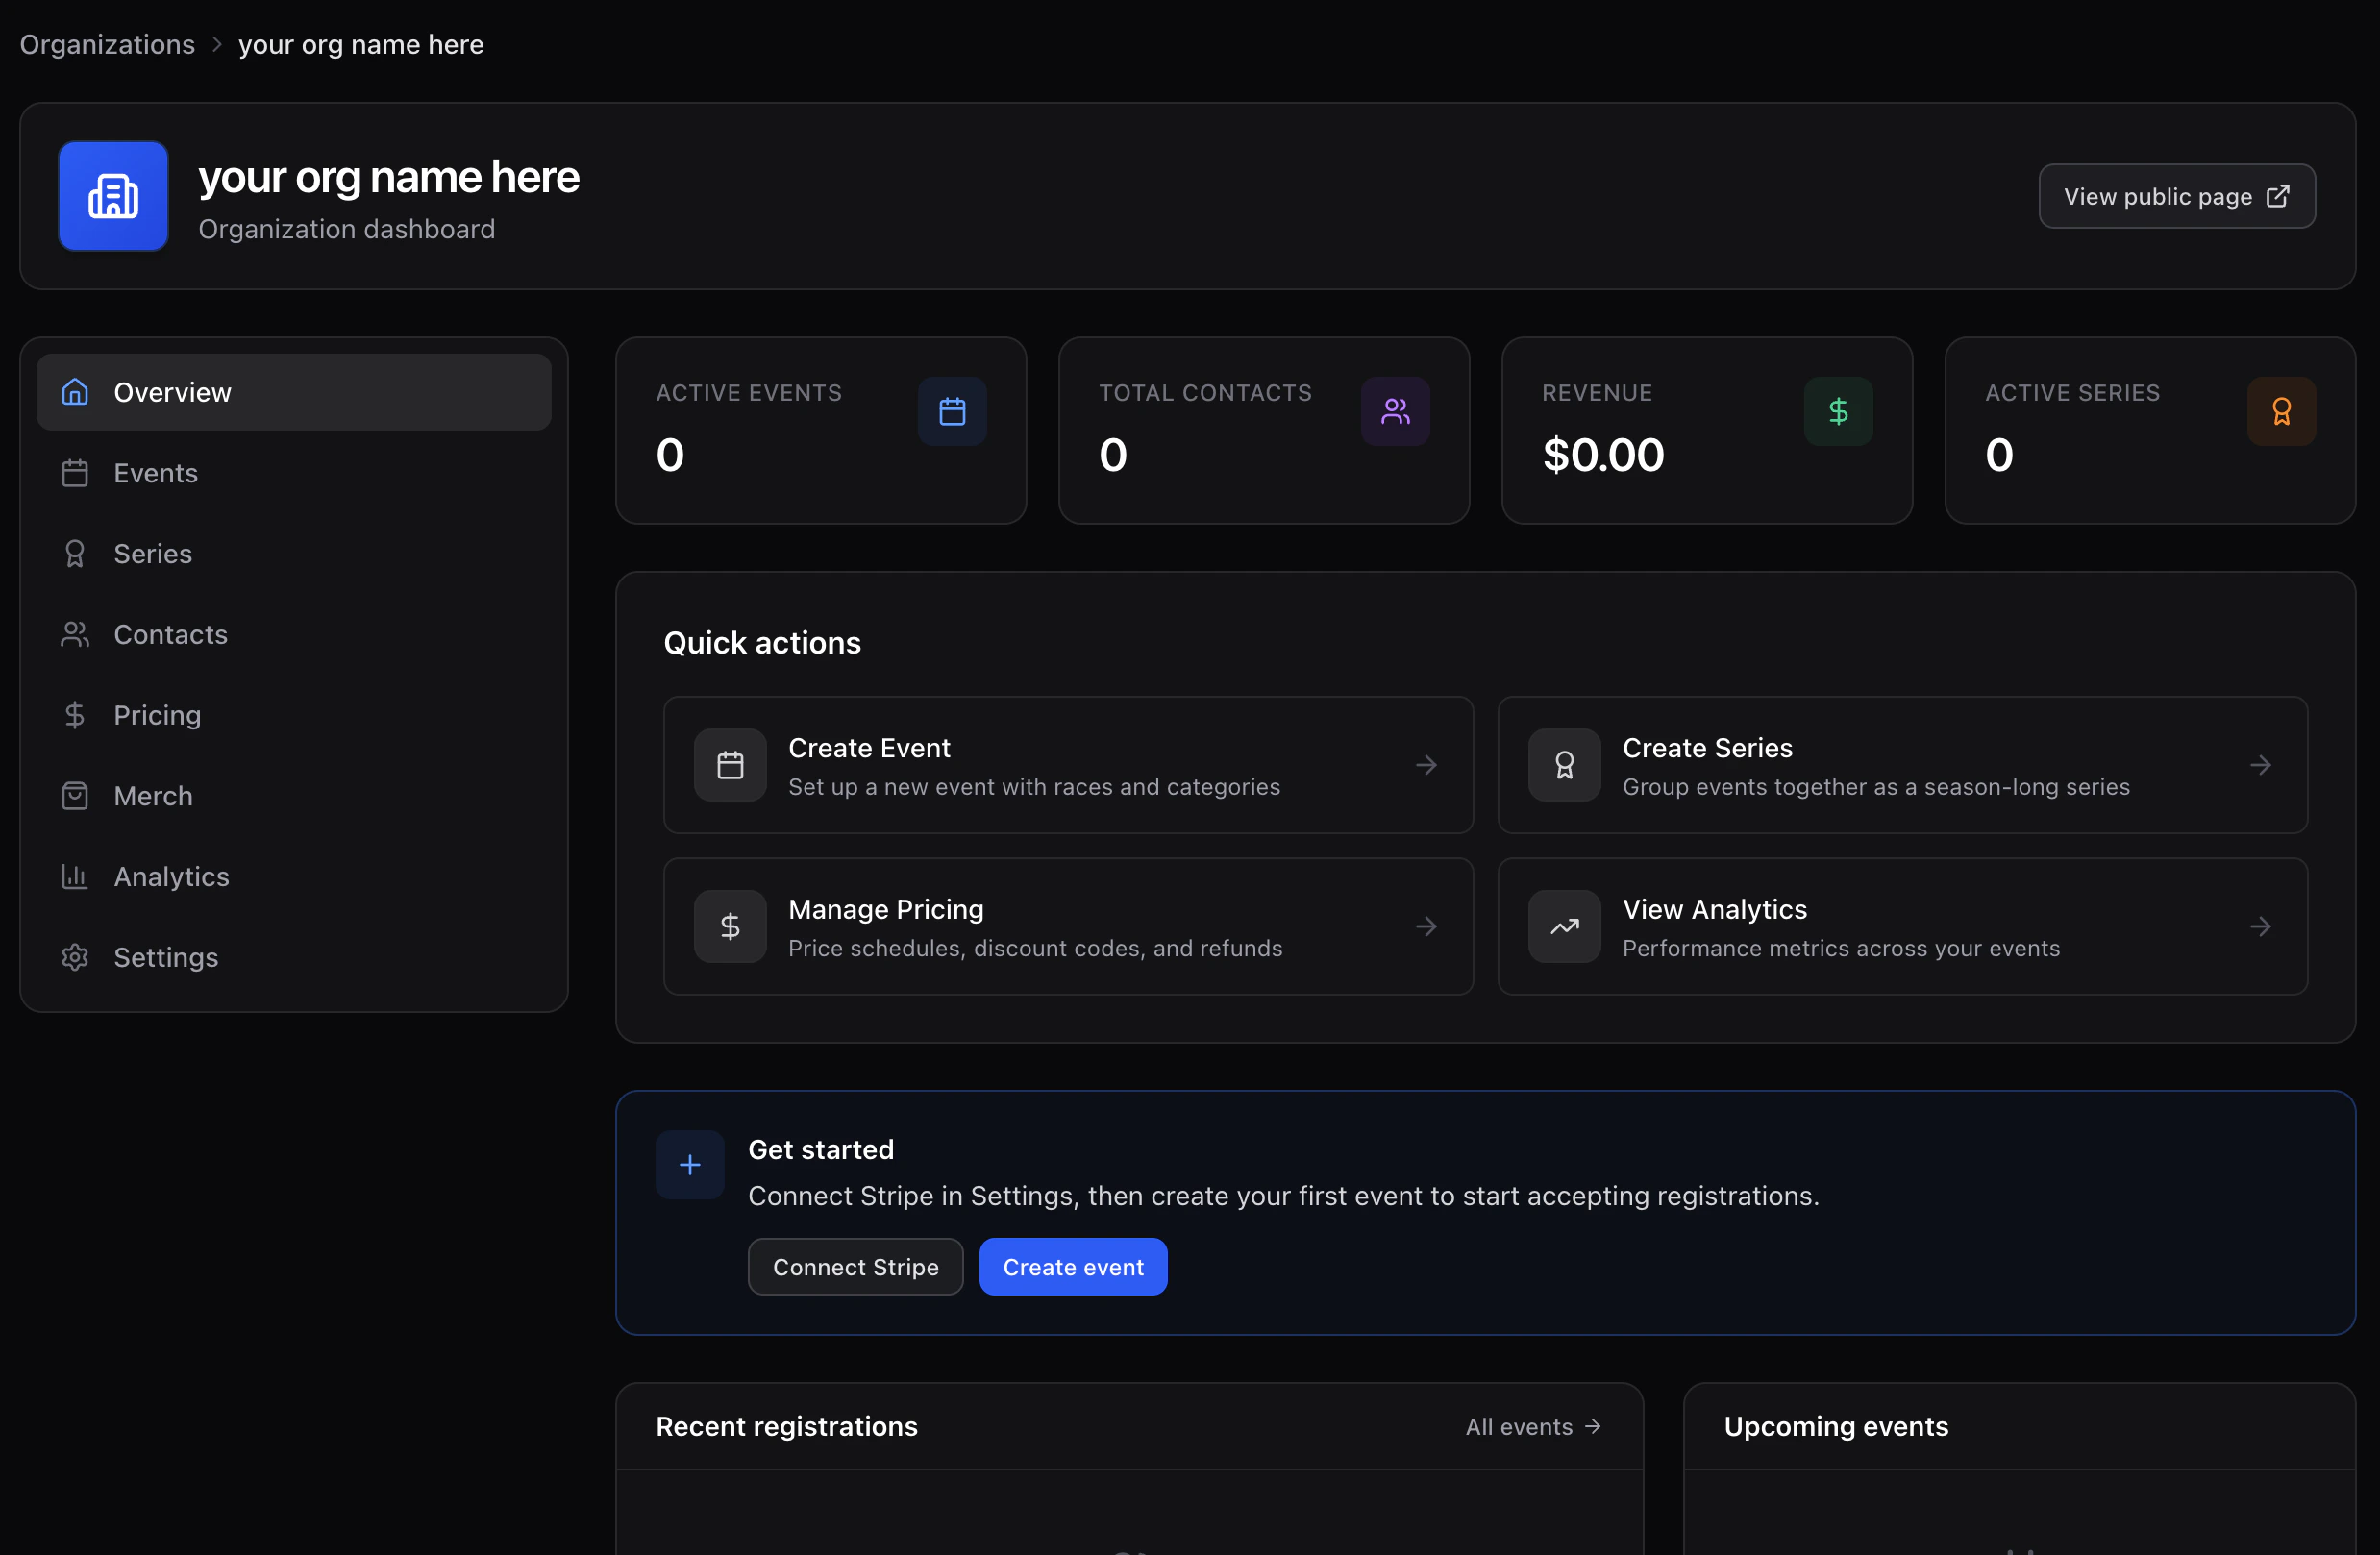
1
Connect Stripe — do this first
Settings → Billing. This is how you get paid, and it’s the step with a
waiting period: Stripe verifies your business and bank details, which can
take a day or two.Start it now even if your first event is months away. You can’t publish a
paid event until it’s done.→ Stripe payouts
2
Upload a waiver
Settings → Waivers. You need at least one before anyone can register.→ Waiver library
3
Invite your crew
Settings → Team. Whoever helps you run registration, timing, or the
money.→ Team & invites
Free events don’t need Stripe. If you’re just putting on a group ride or
a free series, skip step one — you only need Stripe once you charge for
something.
Next
Quickstart
The full path from here to open registration.
Dashboard tour
Reading the numbers on your dashboard.